Step by Step Guide on how to Build a Galley Wall
Learn how to create a beautiful gallery wall for your home with simple, stress-free steps. From choosing frames and artwork to planning your layout and hanging with confidence, this guide will help you design a wall that reflects your style and elevates your space.
5/8/20243 min read
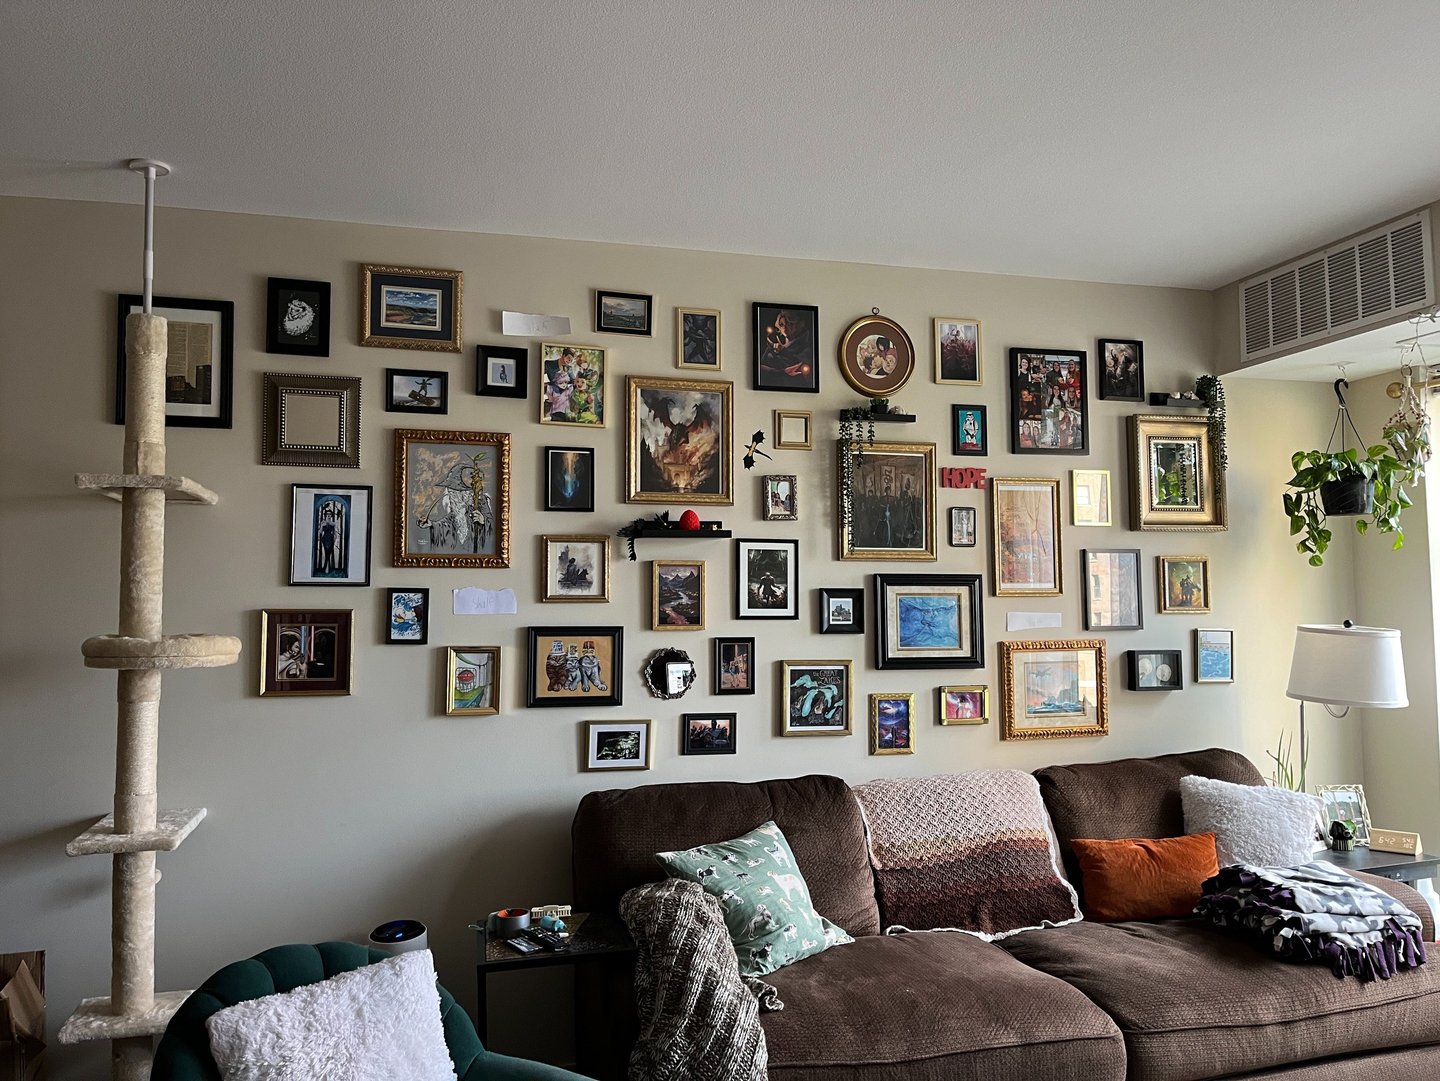
How to Build a Gallery Wall That Tells Your Story
A gallery wall is one of the best ways to bring personality, warmth, and creativity into your home. Whether you’re showcasing family photos, artwork, or meaningful prints, a well-designed gallery wall can transform any blank space into a focal point. With a little planning and creativity, you can create a display that feels both curated and effortless.
Here’s how to build a gallery wall step by step.
Step 1: Gather Your Frames and Art Prints
The foundation of any great gallery wall starts with your frames and artwork. Before you begin, collect everything you plan to use and place it in one spot so you can see your options clearly.
When choosing frames, decide whether you want a cohesive look or a more eclectic mix. Matching frames create a clean, modern feel, while mixed materials and colors add character and charm. Both styles work beautifully—it all depends on your personal taste.
For your artwork, think beyond traditional prints. You can include:
Family photos
Digital or vintage art prints
Quotes and typography
Small mirrors
Pressed flowers or textiles
Travel memories or postcards
Try to stick to a general color palette so your wall feels unified, even if the styles vary.
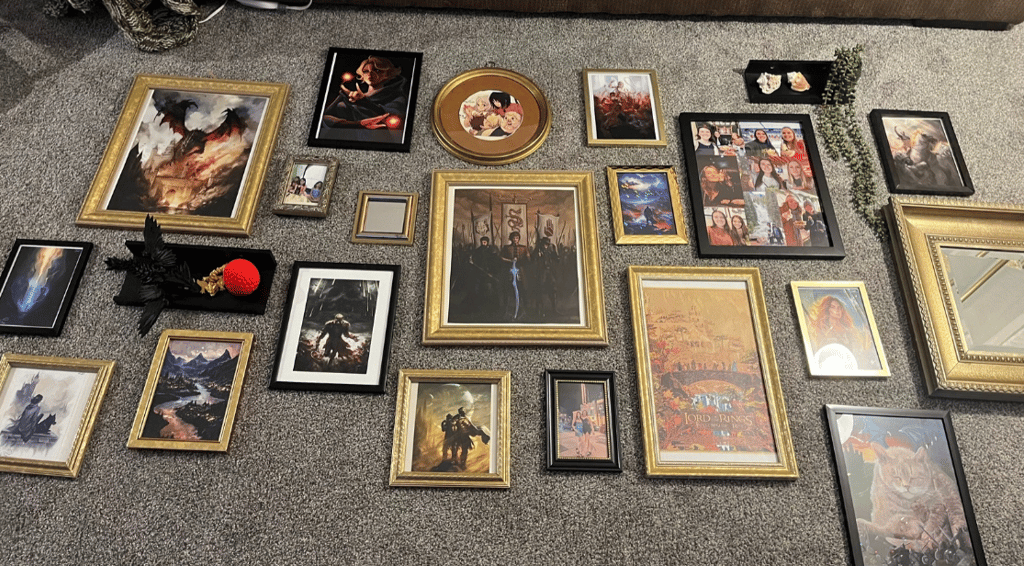
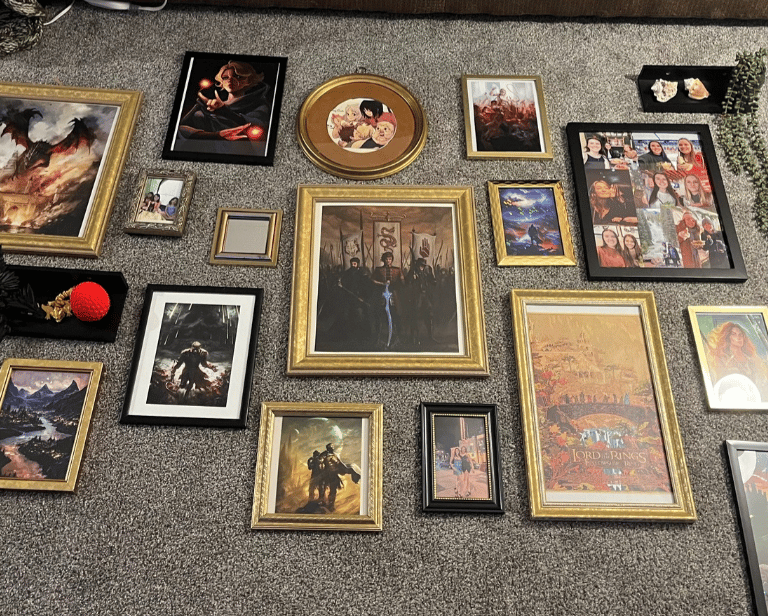
Step 2: Lay Out Your Design on the Floor
Before putting any holes in your wall, take time to experiment with your layout on the ground. This step saves time and prevents frustration later.
Place your frames on the floor and begin arranging them in different formations. You can try:
A symmetrical grid for a polished look
An organic layout for a relaxed, artistic feel
A centered statement piece with smaller frames around it
Move pieces around until the spacing feels balanced. Pay attention to how the shapes and sizes interact with each other. Once you’re happy with the arrangement, take a photo so you can reference it later.
This is your chance to “play” with your design—don’t rush it.
Step 3: Measure and Plan Your Wall Space
Next, evaluate where your gallery wall will live. Common spaces include above sofas, along staircases, in hallways, or over beds.
Use a measuring tape to find the center of your wall and determine how much space you want the gallery to fill. A good rule of thumb is to leave a few inches of space around the edges so the wall doesn’t feel overcrowded.
If your gallery wall is above furniture, aim to keep the bottom row of frames about 6–8 inches above the surface for a balanced look.
Step 4: Create a Hanging Template
For extra precision, consider creating paper templates. Cut paper to match the size of each frame and tape them to the wall in your planned layout.
This allows you to visualize the final look at eye level and make adjustments before hanging anything. It’s especially helpful if you’re working with an uneven or complex arrangement.
Use painter’s tape so you can move pieces easily without damaging your wall.
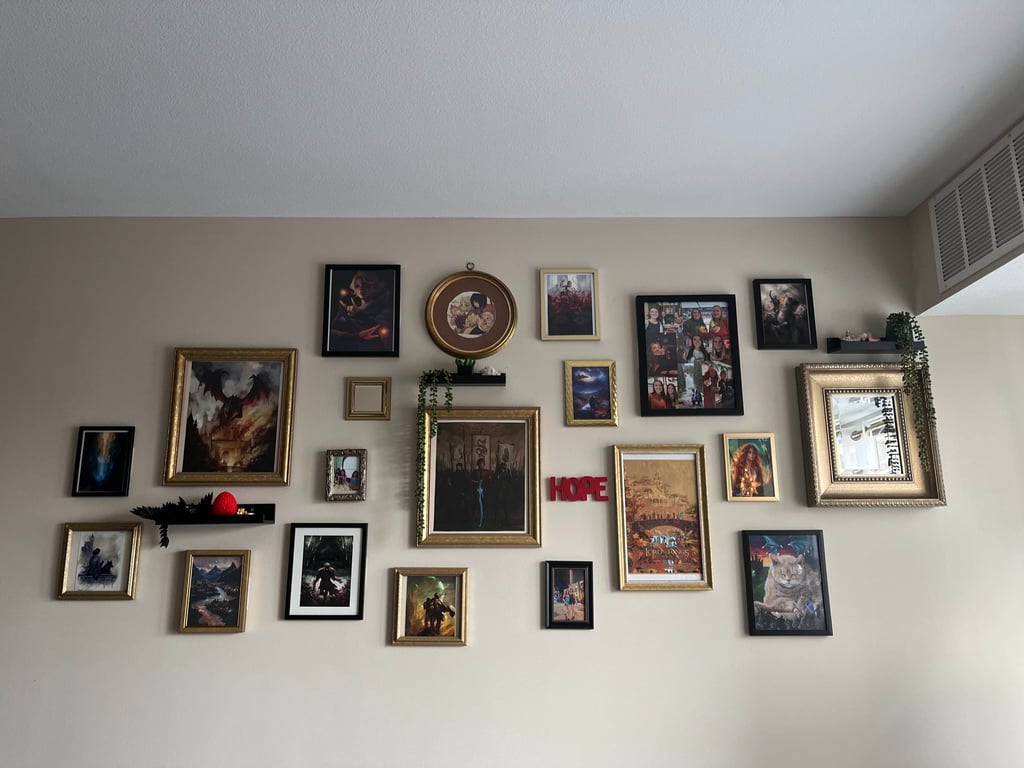
Step 5: Hang Your Frames with Confidence
Once your layout is finalized, it’s time to hang. Start with the largest or most central piece and work outward. This helps anchor the design and keeps everything aligned.
Use appropriate wall anchors or hooks depending on the weight of your frames. A level will help ensure your pieces stay straight, especially in grid-style layouts.
Take your time during this step—small adjustments make a big difference in the final result.
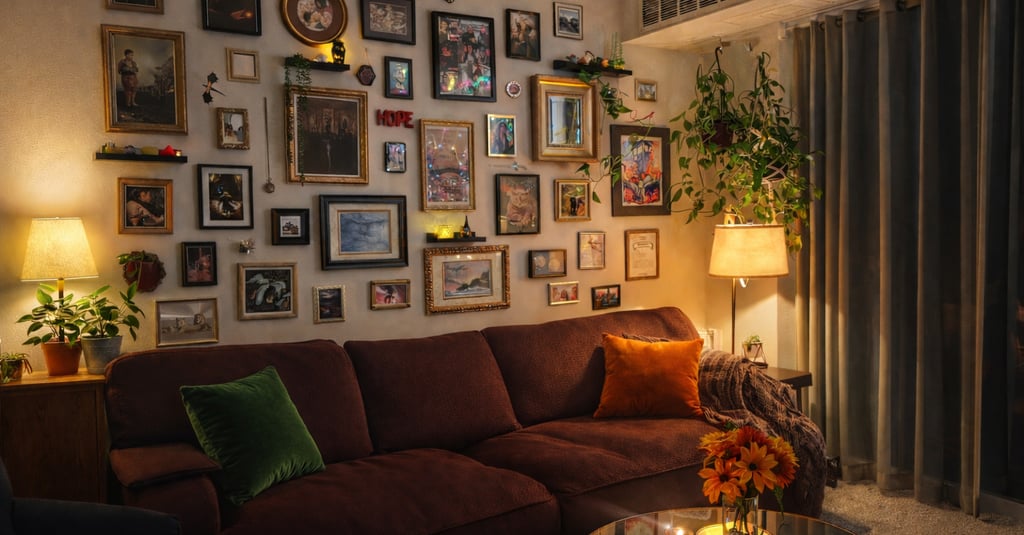
Step 6: Add Finishing Touches
After everything is hung, step back and evaluate your gallery wall. Look for any frames that may need slight repositioning. Sometimes shifting a piece by just an inch can improve balance.
You can also enhance your gallery wall by adding nearby decor such as:
Accent lighting
Wall sconces
Plants
Floating shelves
These elements help integrate the gallery wall into the rest of your space.
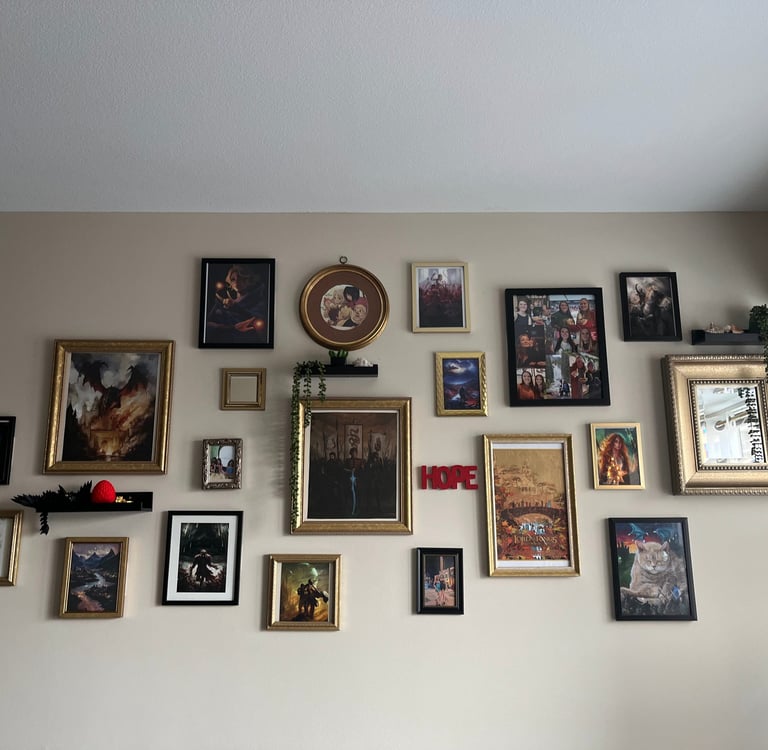
Step 7: Refresh and Evolve Over Time
One of the best things about a gallery wall is that it can grow with you. Don’t be afraid to swap out artwork, add new frames, or update photos as your style evolves.
Treat your gallery wall as a living design feature—one that reflects your story and creativity.
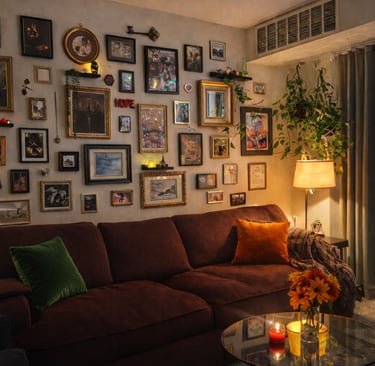
Final Thoughts
Building a gallery wall doesn’t have to be intimidating. By gathering your frames and prints, experimenting with layouts on the floor, and planning carefully, you can create a beautiful display that feels intentional and personal.
With patience and creativity, your gallery wall can become one of the most eye-catching features in your home—one that truly represents you and your style.
If you’d like, I can also help you turn this into a shorter version for social media or a visual guide for your website.